Note: Malifaux Third Edition
This post is based on Malifaux Third Edition, which is now all but left behind in the wake of Fourth Edition. It still feels like Malifaux, and these posts might still be interesting to read - but please beware that any of the discussion around mechanics or rules interactions might be out of date. Check out newer posts for Fourth Edition content!
Reva Cortinas vs Lucius Mattheson, Dishonourable

This is the first time I have played against Lucius since the 2024 keyword rework. I was familiar with the changes to White Eyes (and suddenly started taking him in my Returned crews…) but everything else was new to me – and also, I think I’ve only played against Lucius once before that. However, I have played against Geraint and I very much enjoyed that (despite taking quite a whooping) so I was looking forward to the game.
He told me he was probably bringing Lucius Mattheson, Dishonorable – so I built my crew around that. To be honest, looking at the stat cards for Elite/Mimic, it was difficult to find the weaknesses to attack. In the crew Geraint hired, nearly every model had Flexible Morality, meaning I’d need to discard a card (or otherwise get a positive to the duel flip) or be on a negative flip, and thus unable to cheat, or Hard To Wound, or Inhuman Physiology, making it very difficult to cheat the damage flip.
I did have a few ways of getting round this – one of them, of course, is the Focused condition. Against a model with Flexible Morality, for example, which states "After an enemy model targets this model with an Attack Action, the enemy model must either discard a card or suffer a Negative flip to its duel", if you attack spending a Focused, you are on a straight flip for your duel, and still have a positive flip to your damage. Another is Reva’s, Channeled Flame ability, allowing herself to suck in burning from friendly models (or herself) to get a positive flip.
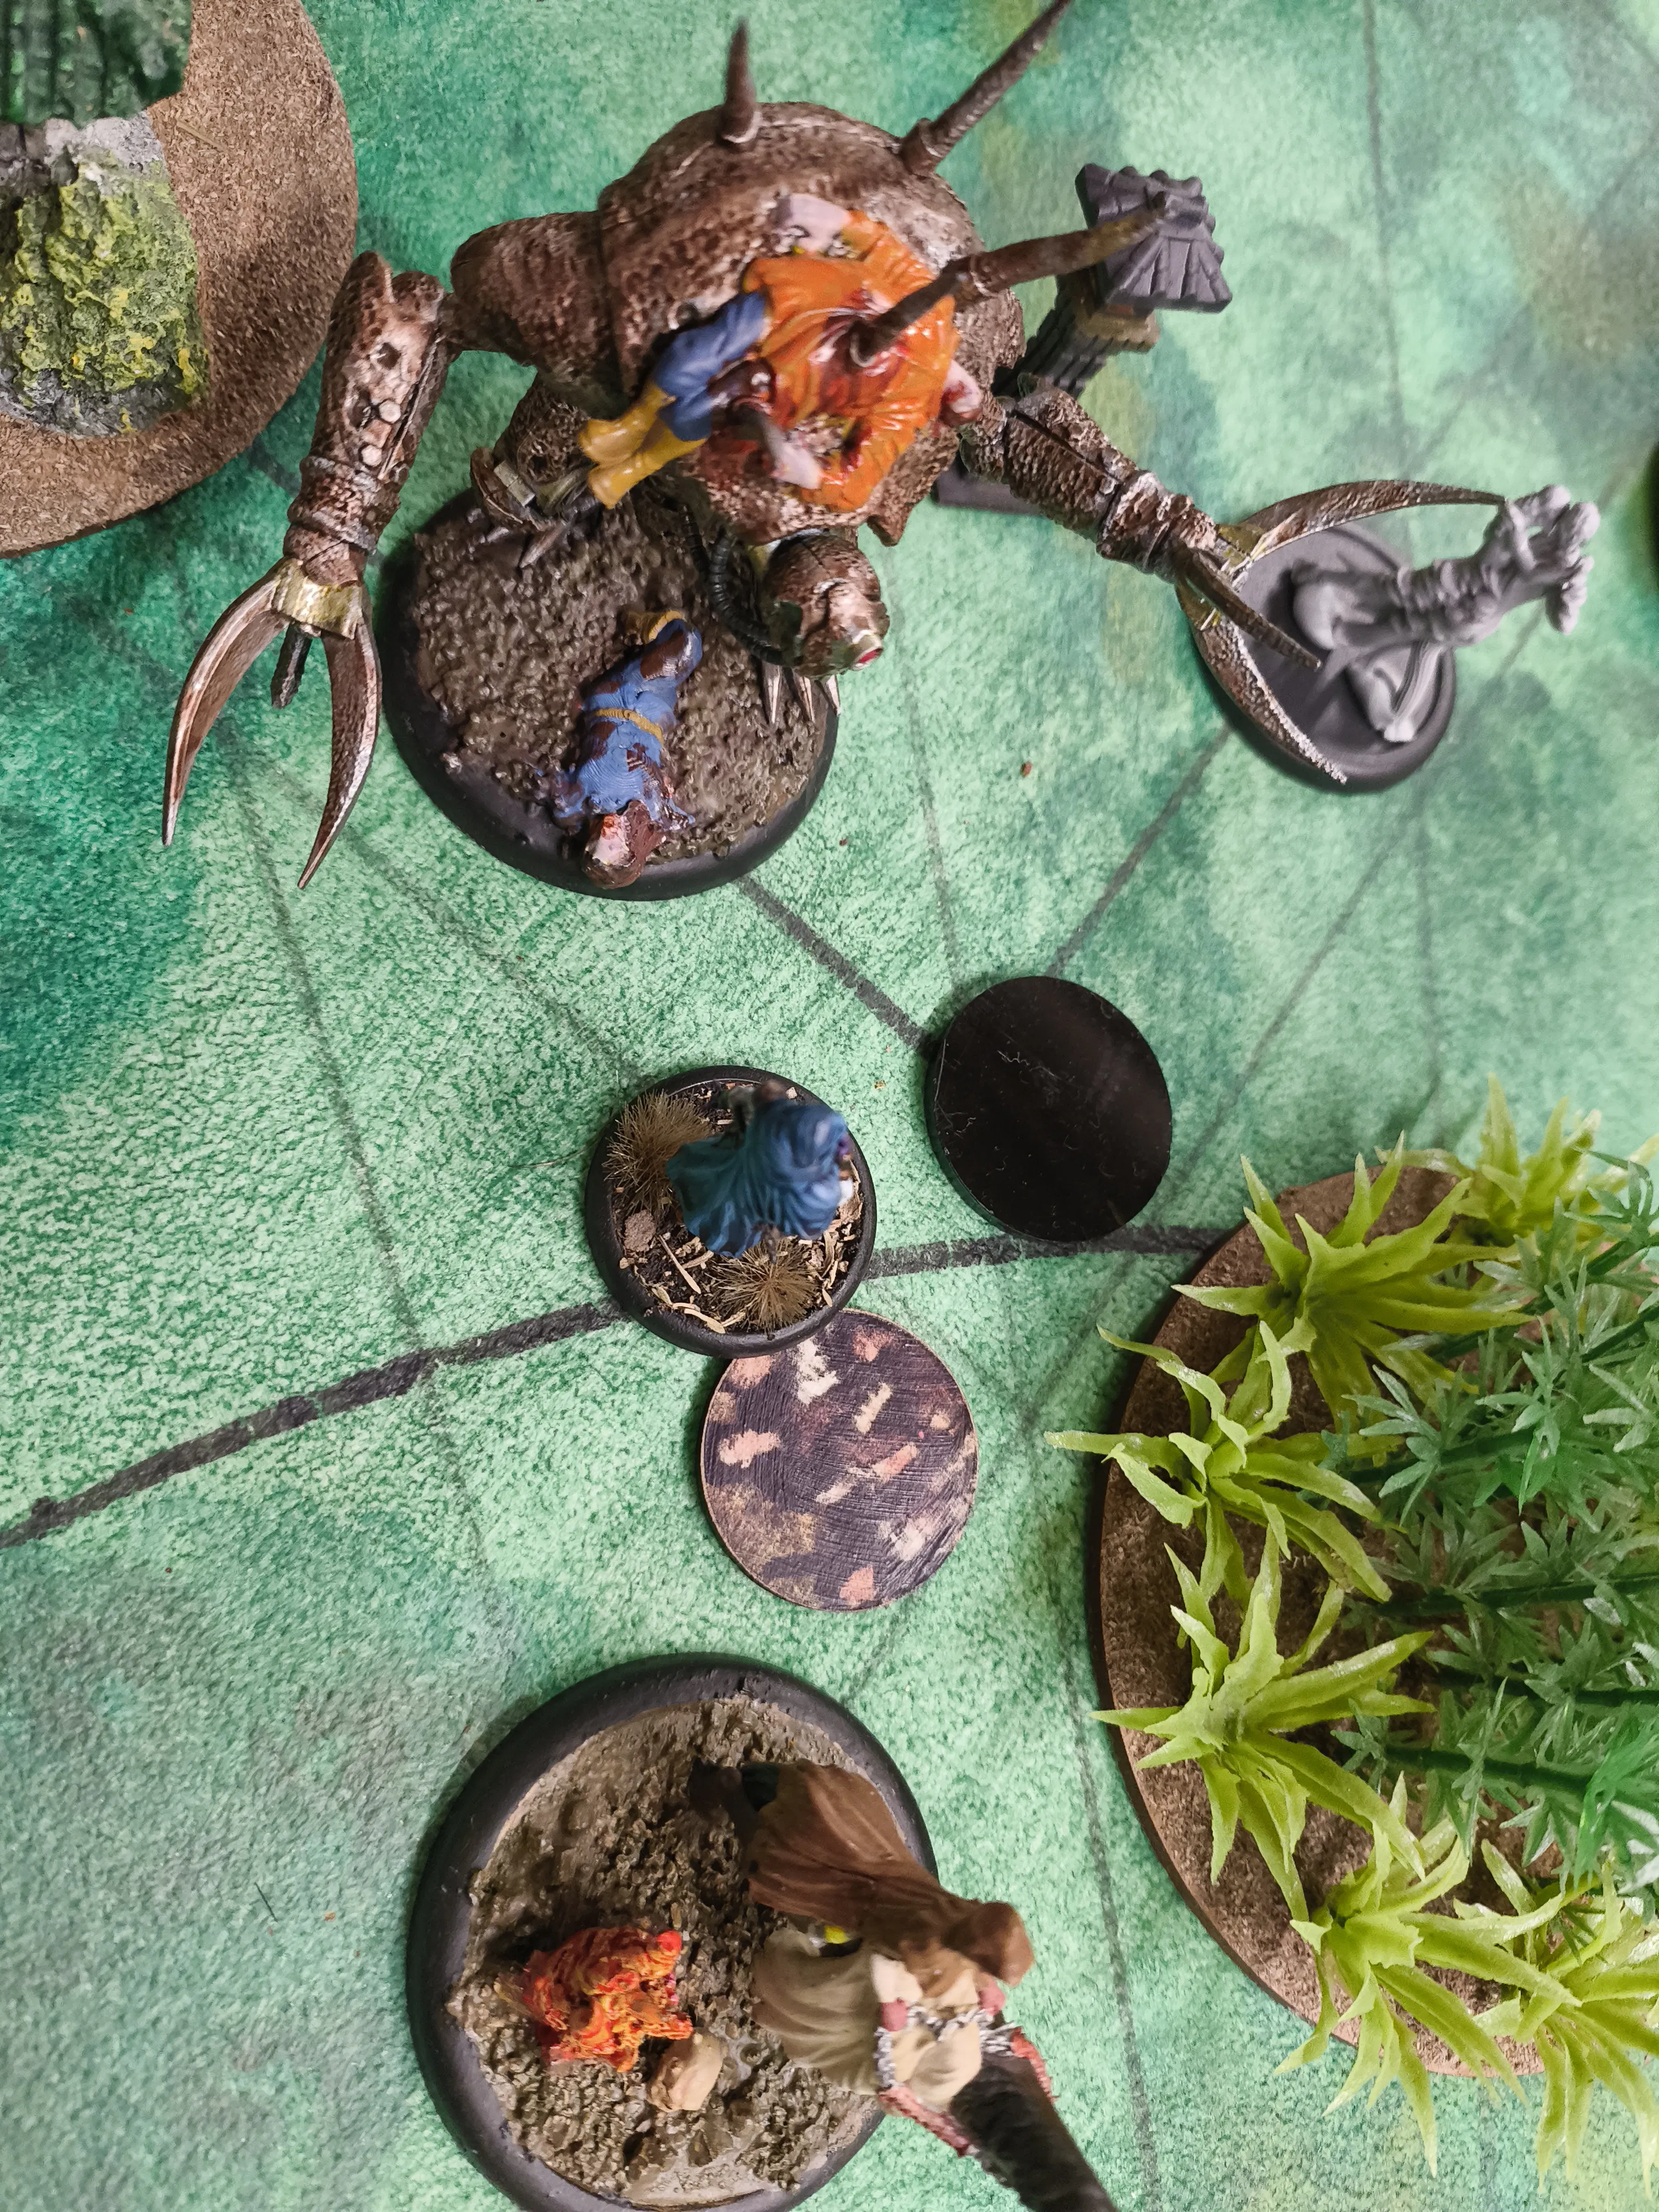
A new one for me however, was Batsch and Amalie – a model I was hiring for the first time, after Ed from Powder Monkey managed to get hold of a copy of the new Resurrectionist Starter Set. This helps because their Mushroom Cloud blast attack, which ignores concealment, gets a positive flip if the target is in Severe Terrain. However, Fruiting Bodies means that Corpse Markers, and my Scheme Markers are treated as Severe Terrain. Reva does tend to generate a lot of corpses. Not always from killing – the Restless Spirit can drop one each turn from Tomb Robber, killing Corpse Candles also drops some, in addition to any battlefield casualties. It’s worth noting that Walking Dead does not work here – Mindless Zombies and Corpse Candles only count as Corpse Markers for me, not for my opponent. (which is good, it means Rasputina’s crew can’t eat my Zombies)
So the full plan was: Old Hob, Hurl Corpse at a model, doing some damage, then Batsch and Amalie’s Mushroom Cloud to get a positive flip. Blast damage is always nice too! I’m sure there’s much more cheekiness you can get up to with this Versatile model, but that was what I was banking on.
The Encounter
We randomly selected a pool, and I was not sure which schemes to pick. I definitely did not want to take two Scheme Marker based schemes, as I don’t think that plays to Reva’s strengths, but I also was very unsure about Take Prisoner (it may have been good in the end with how spread out the field was, but I didn’t really have many ways of moving enemy models very far that didn’t use triggers. So, I went for Sweating Bullets (choosing a Shieldbearer) and Protected Territory. I tried to really focus on how to actually score points this game as well, which I think helped me.
The Crews
In Turn 1, not much happened from my end, I hurled a Corpse at a model, and did 2 damage, but that was about it for me, other than piling on Focused from Blasphemous Ritual and getting into position. I did realise that Old Hob’s What a Lovely Day means that if a Shieldbearer charges past him, then hits him with Shield Slam he can push towards the Shieldbearer from What a Lovely Day and then do the push from Shield Slam. This was great. However, I double checked it on the UK Malifaux Discord, and literally within 2 minutes, I had an answer telling me it was even better than I’d realised. Because What a Lovely Day pushes ignoring other models, if the Shieldbearer (30mm) is in base contact, Old Hob can push 4 inches (101.6mm), and since he has a 50mm base, that means there is 51.6mm of movement left, so he can actually push through the Shieldbearer, then do the Shield Slam push, and if I flipped a Mask (I didn’t, sadly) could keep going. So, Old Hob could travel 10 inches from an action that also moved the Shieldbearer. This is great, because Old Hob often wants to be hurling Mindless Zombies or Corpse Candles in Turn 1, so he is in danger of being left behind. I definitely want to experiment with this more!
I really want to shout out the UK Malifaux Discord Rules Gurus: R(e)ice, James Moinet and Dave L for how consistently promptly and helpfully they respond to rules for what is a really complex game with an insane number of possible interactions! I’m always impressed by it – what a great resource! When I was writing this copy, I asked a question about how Old Hob worked, and got a response literally within two minutes! Thanks @rulesgurus!
However, from Geraint’s end, Turn 1 was impressive. A Crookskin in each corner for Outflank, Legalese Upgrades everywhere, Agent 46 with fast. I was not optimistic going into Turn 2…
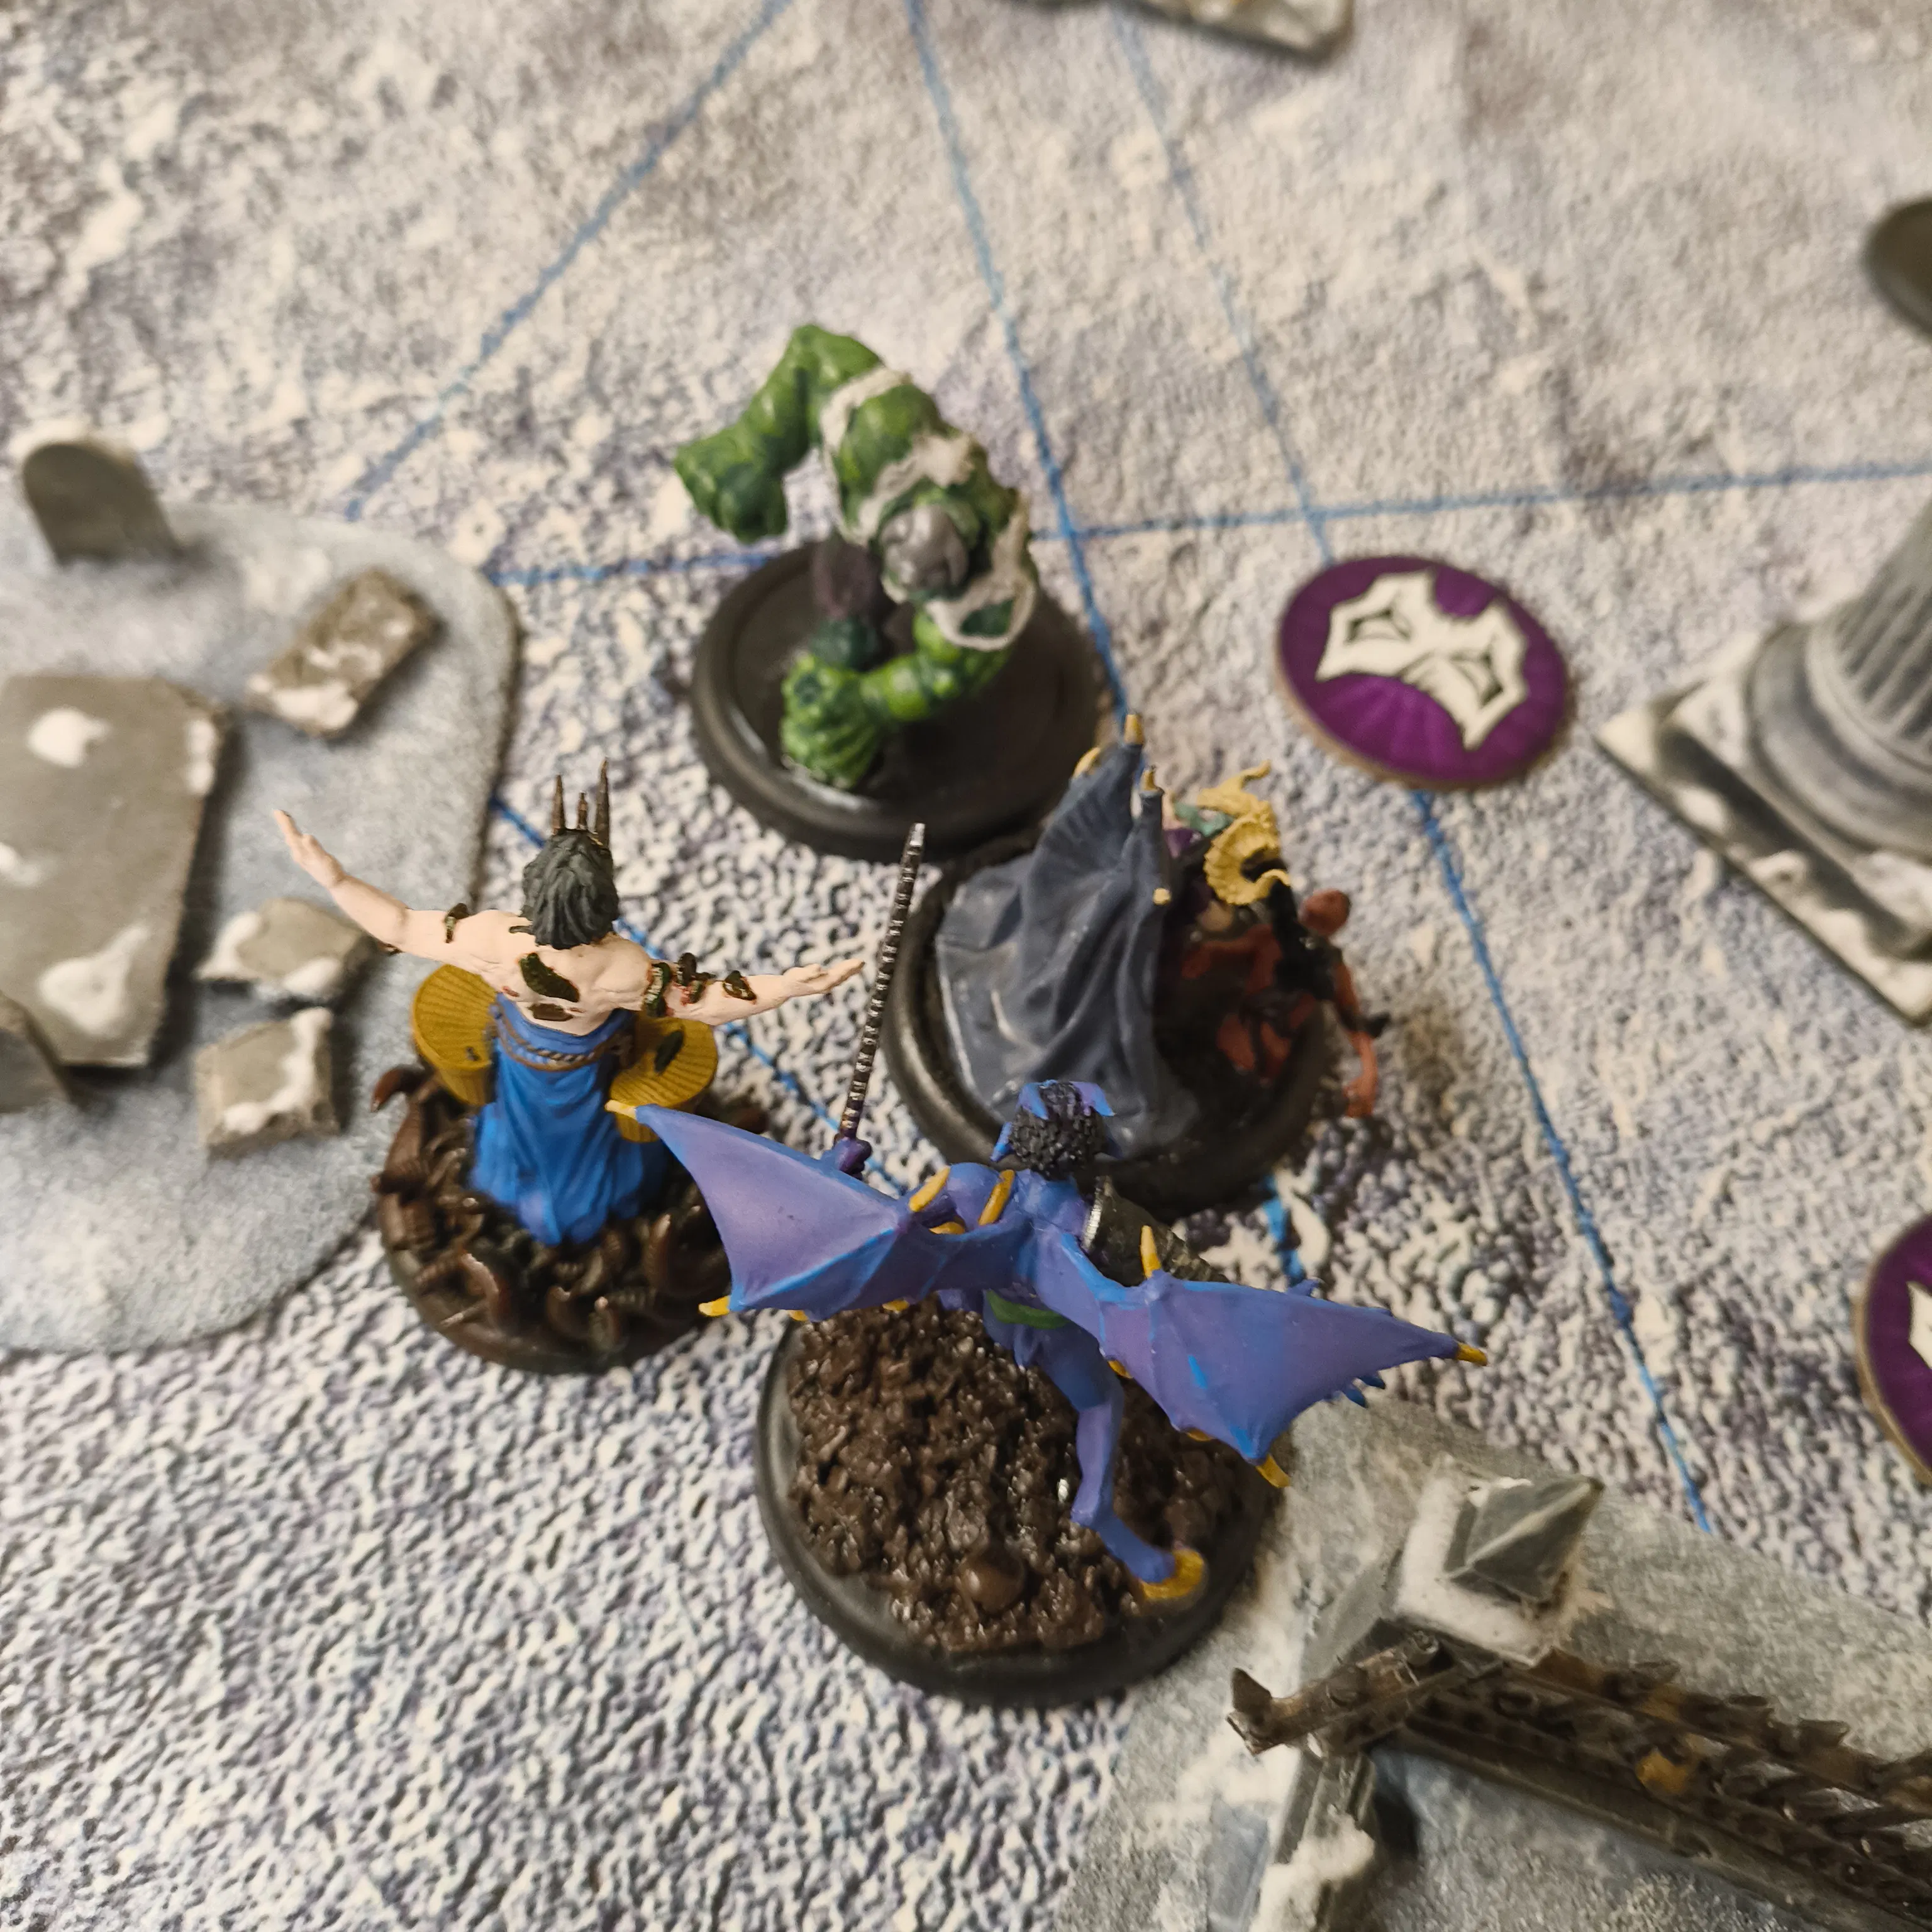
However, Turn 2 actually worked out okay for me! Reva started out engaging Lucius, but after he Secret Passaged away, she had a great turn. I’ve written a few times about how impressed I am with better players than me taking out models in a calculated way, knowing just how much damage they need to do. Usually it’s because I’ve overextended a Cavern Nephilim. I’ve been quite jealous of it – but this time I managed to do something similar. I worked out that with Reva already having Focused from Turn 1, and Old Hob having Hurled a Corpse at a Guild Lawyer, she could Charge to:
- Within 2 inches of The Scribe, but outside his 0 inch engagement
- Within 8 inches of the Corpse that was near the Guild Lawyer
- Within 2 inches of the Crookskin, but outside his 1 inch engagement
and then:
- Kill the Guild Lawyer using Focused (she’d used up her Burning healing Old Hob’s Shield Slam damage) to get round Flexible Morality and only needing a minimum 3 damage to take it out.
- Concentrate.
- Kill the Scribe using Focused to get round Flexible Morality and cheating in a Severe 5 damage to take him out. I don’t think I needed to cheat the damage in the end, but I would have had to discard a card from Betrayal to do this.
It felt great! I really felt like my game had improved, rather than thinking ‘that’s a good attack, I’ll do that’
Sadly, it didn’t go so well for Reva after that. One issue was the White Eyes popping up where the Crookskin was, to do 9 damage to her. This is an ability which has been widely discussed online. One of the upgrades, Take The Stand has a Surprise Witness ability which lets you replace the model that has the upgrade with any other model with the Elite or Mimic keyword. Except Masters - you aren’t allowed to bring dead Lucius back. Then at the end of the activation, it goes back, and Heals 2 for good measure!
Because when you replace, you Place, White Eyes is a great choice for this. The Place triggers Made To Kill allowing him to get three melee attacks(which heal on Rams), then either an escape from Unnatural Speed or a ping damage (at the cost of 1 Health, which you’ll heal back) from Racked With Spasms. Now I’ve been on the receiving end of it, I can confirm it’s pretty brutal. The other one I hear bandied about is Alan Reid, with lots of people disagreeing about whether the Boring Conversation aura carries over. Geraint didn’t think it did, but didn’t have that model with him, so it didn’t matter.
I was also very surprised by an Ice Pillar suddenly appearing on the table! I hadn’t realised that Crookskins also have the Savage keyword, and one of their triggers creates an Ice Pillar. It was well positioned, because it made it tricky to stop the Crookskin from scoring Outflank.
This was where I made a big mistake. Reva was quite a long way from any Pyres at this point, because of how things panned out earlier, which I was unsure about but decided was worth the risk to kill two models. I’d also forgotten about the Funeral Pyre ability applying to enemy models as well. For some reason, I remember it when killing my own Corpse Candles, but forget when I’ve managed to kill an enemy - so I should have had two Pyres down there before, which could have stacked up some Burning. What I should have done would be to get Reva to a Pyre where she could use Embrace The Flame to heal herself, and lick her wounds, or try and kill the Crookskin as there was nothing else in the area that could threaten her.
That’s what I should have done.
What I did do was use her Move 7 to ride across the board, and try and use The Unquiet Dead on Lucius and Agent 46 to either do some damage and Injured, or rinse some cards from Geraint’s deck/hand. Now, The Unquiet Dead is awesome! But, it’s only super awesome if you have a Mask for the Perdition’s Flame, and, critically, the bit I forgot, if there are two Pyre Markers so that you can actually use the trigger. So, I spent her final action on Geraint passing two Willpower duels and suffering no ill effects. I also left Reva dangerously close to Lucius and his Daggerlike Claw. I had hoped to heal Reva, but on actually reading Embrace The Flame’s text I realised that I couldn’t heal her from all the Burning that was stacked on my two Shieldbearers, because the Burning had to be removed from the target or models close to the target. I did heal a Shieldbearer up to full, which was lovely (and prolonged their life considerably, to Agent 46, and Geraint’s annoyance) but it left Reva open to being slashed to death by Lucius, which he did. It was also painful that I’d said ‘I’ll take all the Burning off these two Shieldbearers, even though I only need 3 of it to heal’ because it meant Reva couldn’t drain any more off for Positive flips in Defensive duels.The whole activation was a big mistake, which I hold my hand up to. At least it’s a clear mistake though, and I know the game would have gone better if I hadn’t done it. A small problem with Malifaux, when you play as a newer player is there’s so much deck/hand manipulation, and action economy plays that you can sometimes feel outplayed without really knowing what you did wrong, so it’s almost refreshing in a way to make a massive blunder. Maybe.
The next mistake I made was with a Lampad that had just killed a un-activated Guild Lawyer using 2 Focused, and set up to score Raid The Vaults. I used Hovering Flame to move it around the other side of the Strategy Marker, in the hope of taking out the other Crookskin that was scoring Outflank. However, I didn’t measure properly, and I moved out of range of Pyre markers to use Demise(Possessing Flame) and Geraint charged the Crookskin in and wiped it out. It hadn’t built up enough Burning to use Flaming Body to reduce it significantly.
This made things much trickier. Batsch and Amalie dispatched Cavatica, but sadly not before he took out the Restless Spirit, which, along with the lack of a Lampad, meant my Action Economy was severely impaired. This meant that their only option was to rush up to board to the Strategy Marker that was in Geraint’s Deployment Zone, in order to score Raid The Vaults.
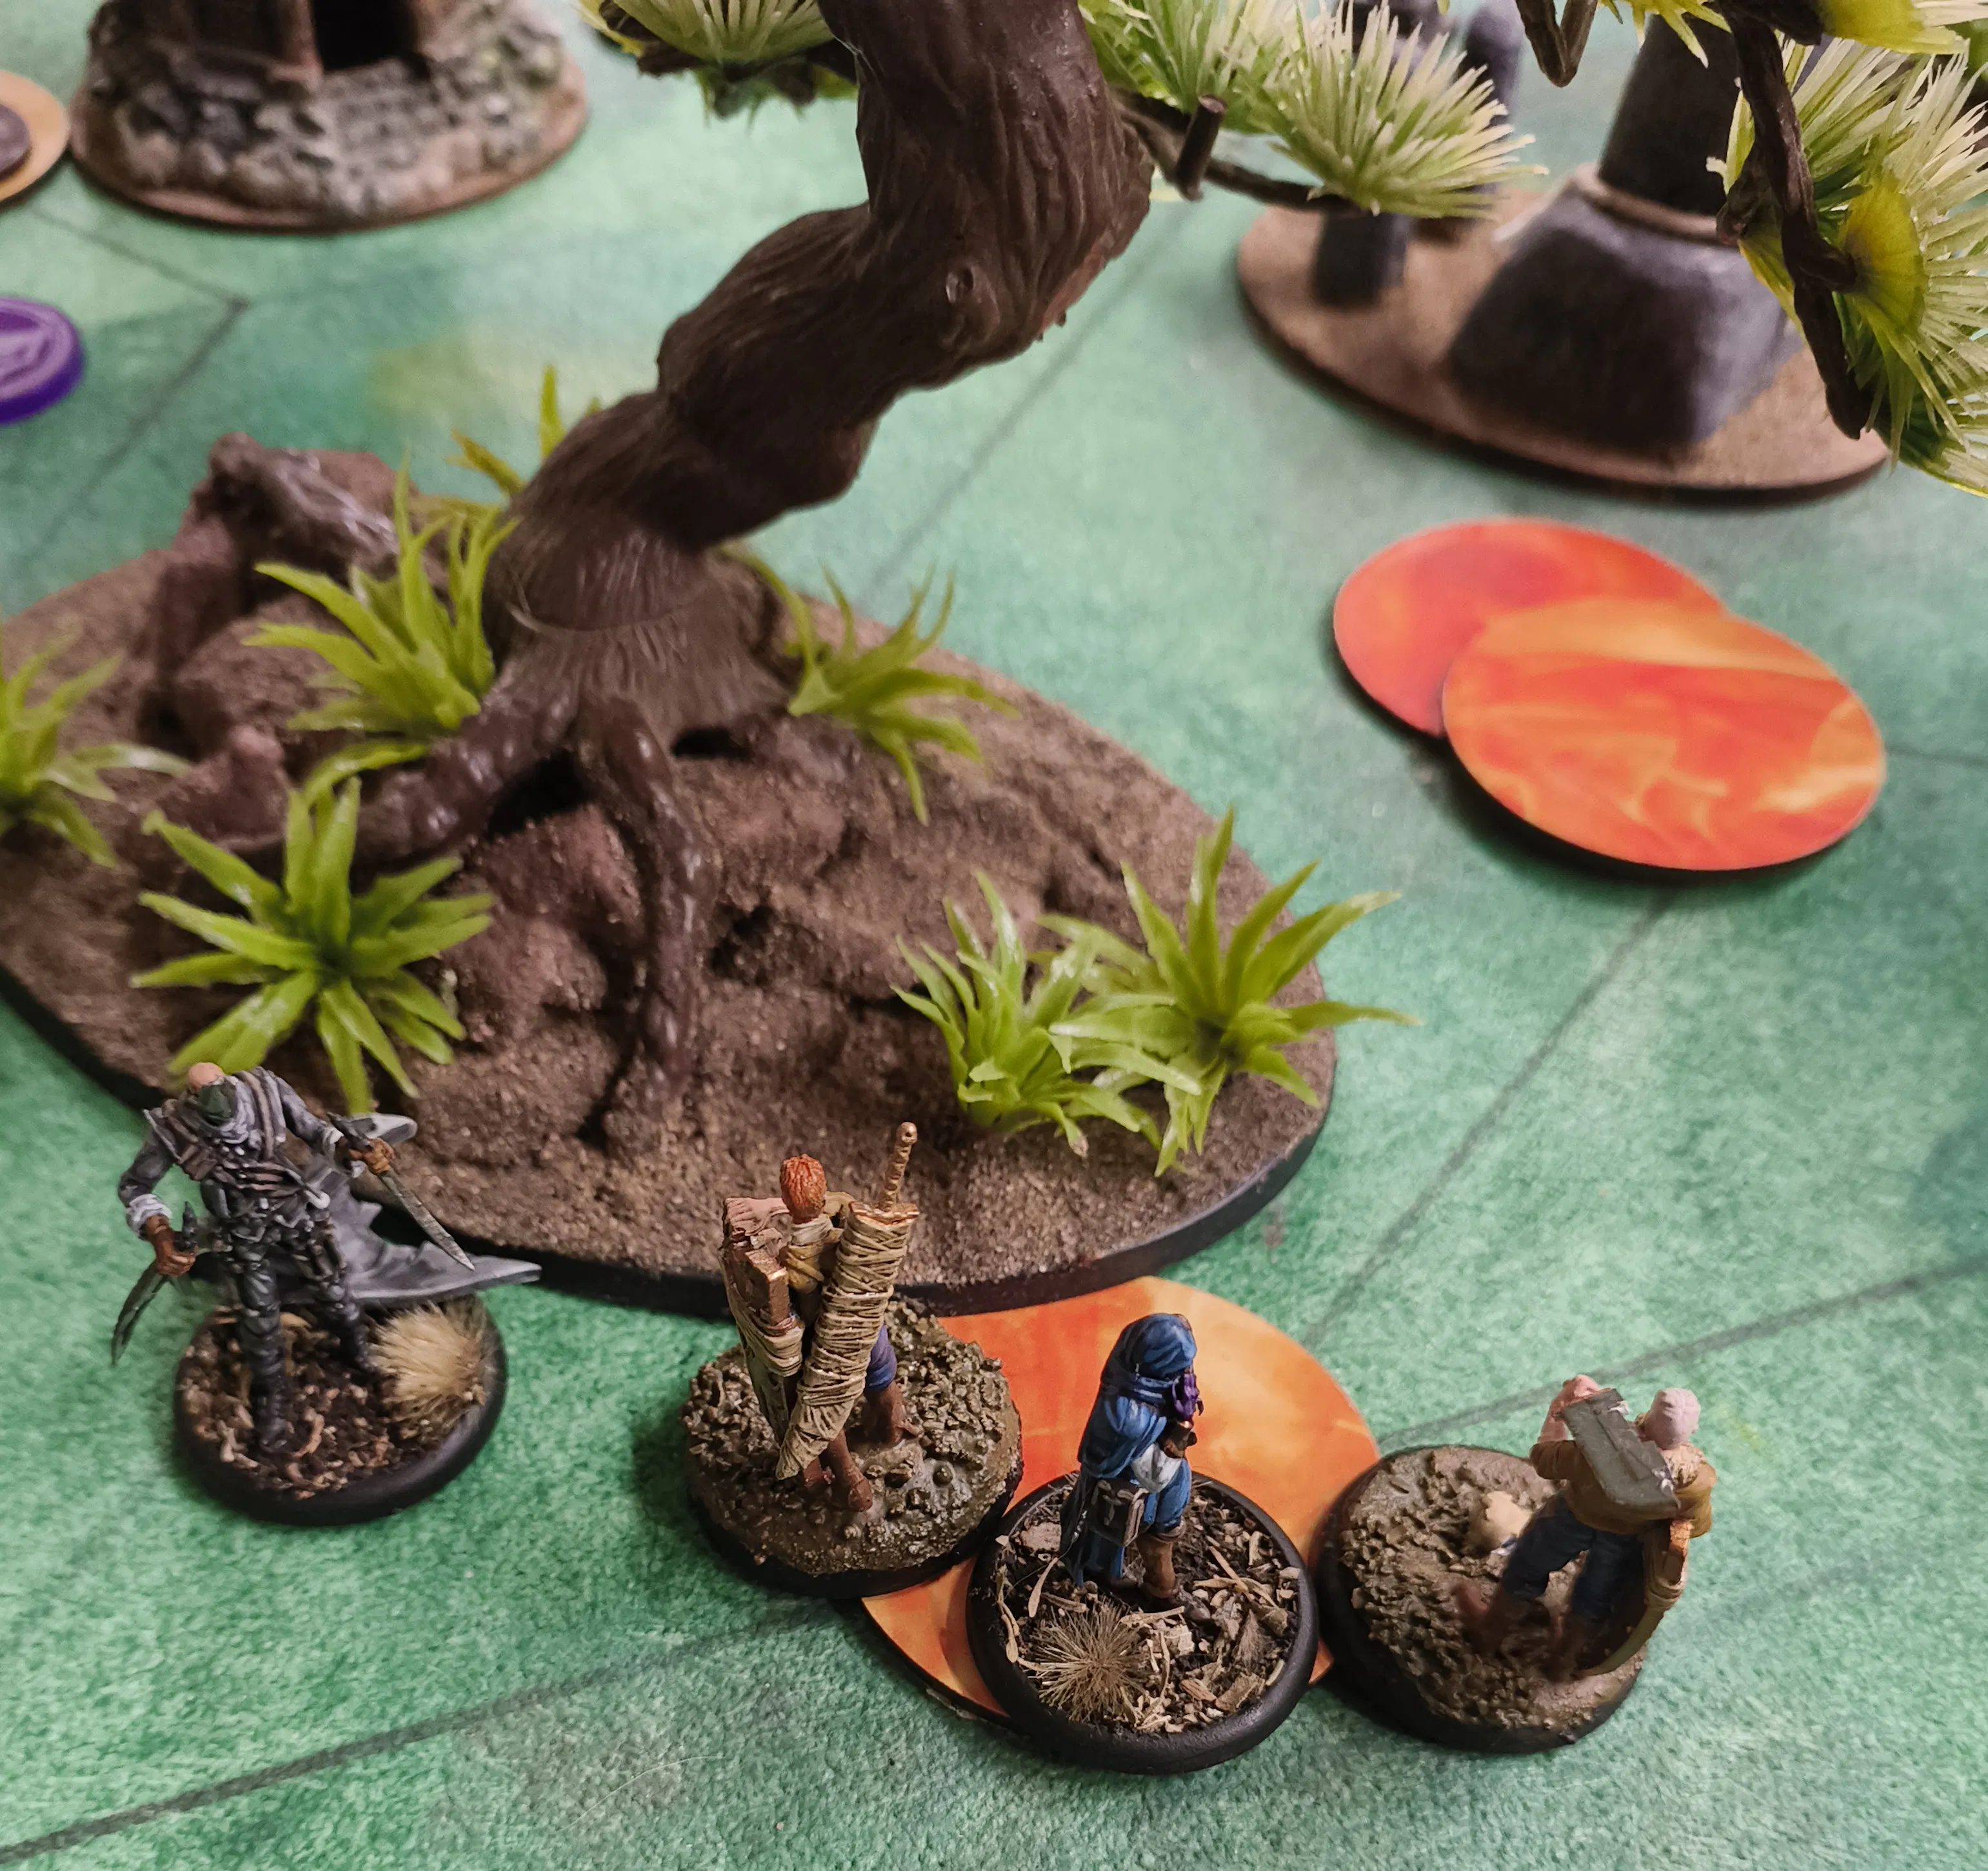
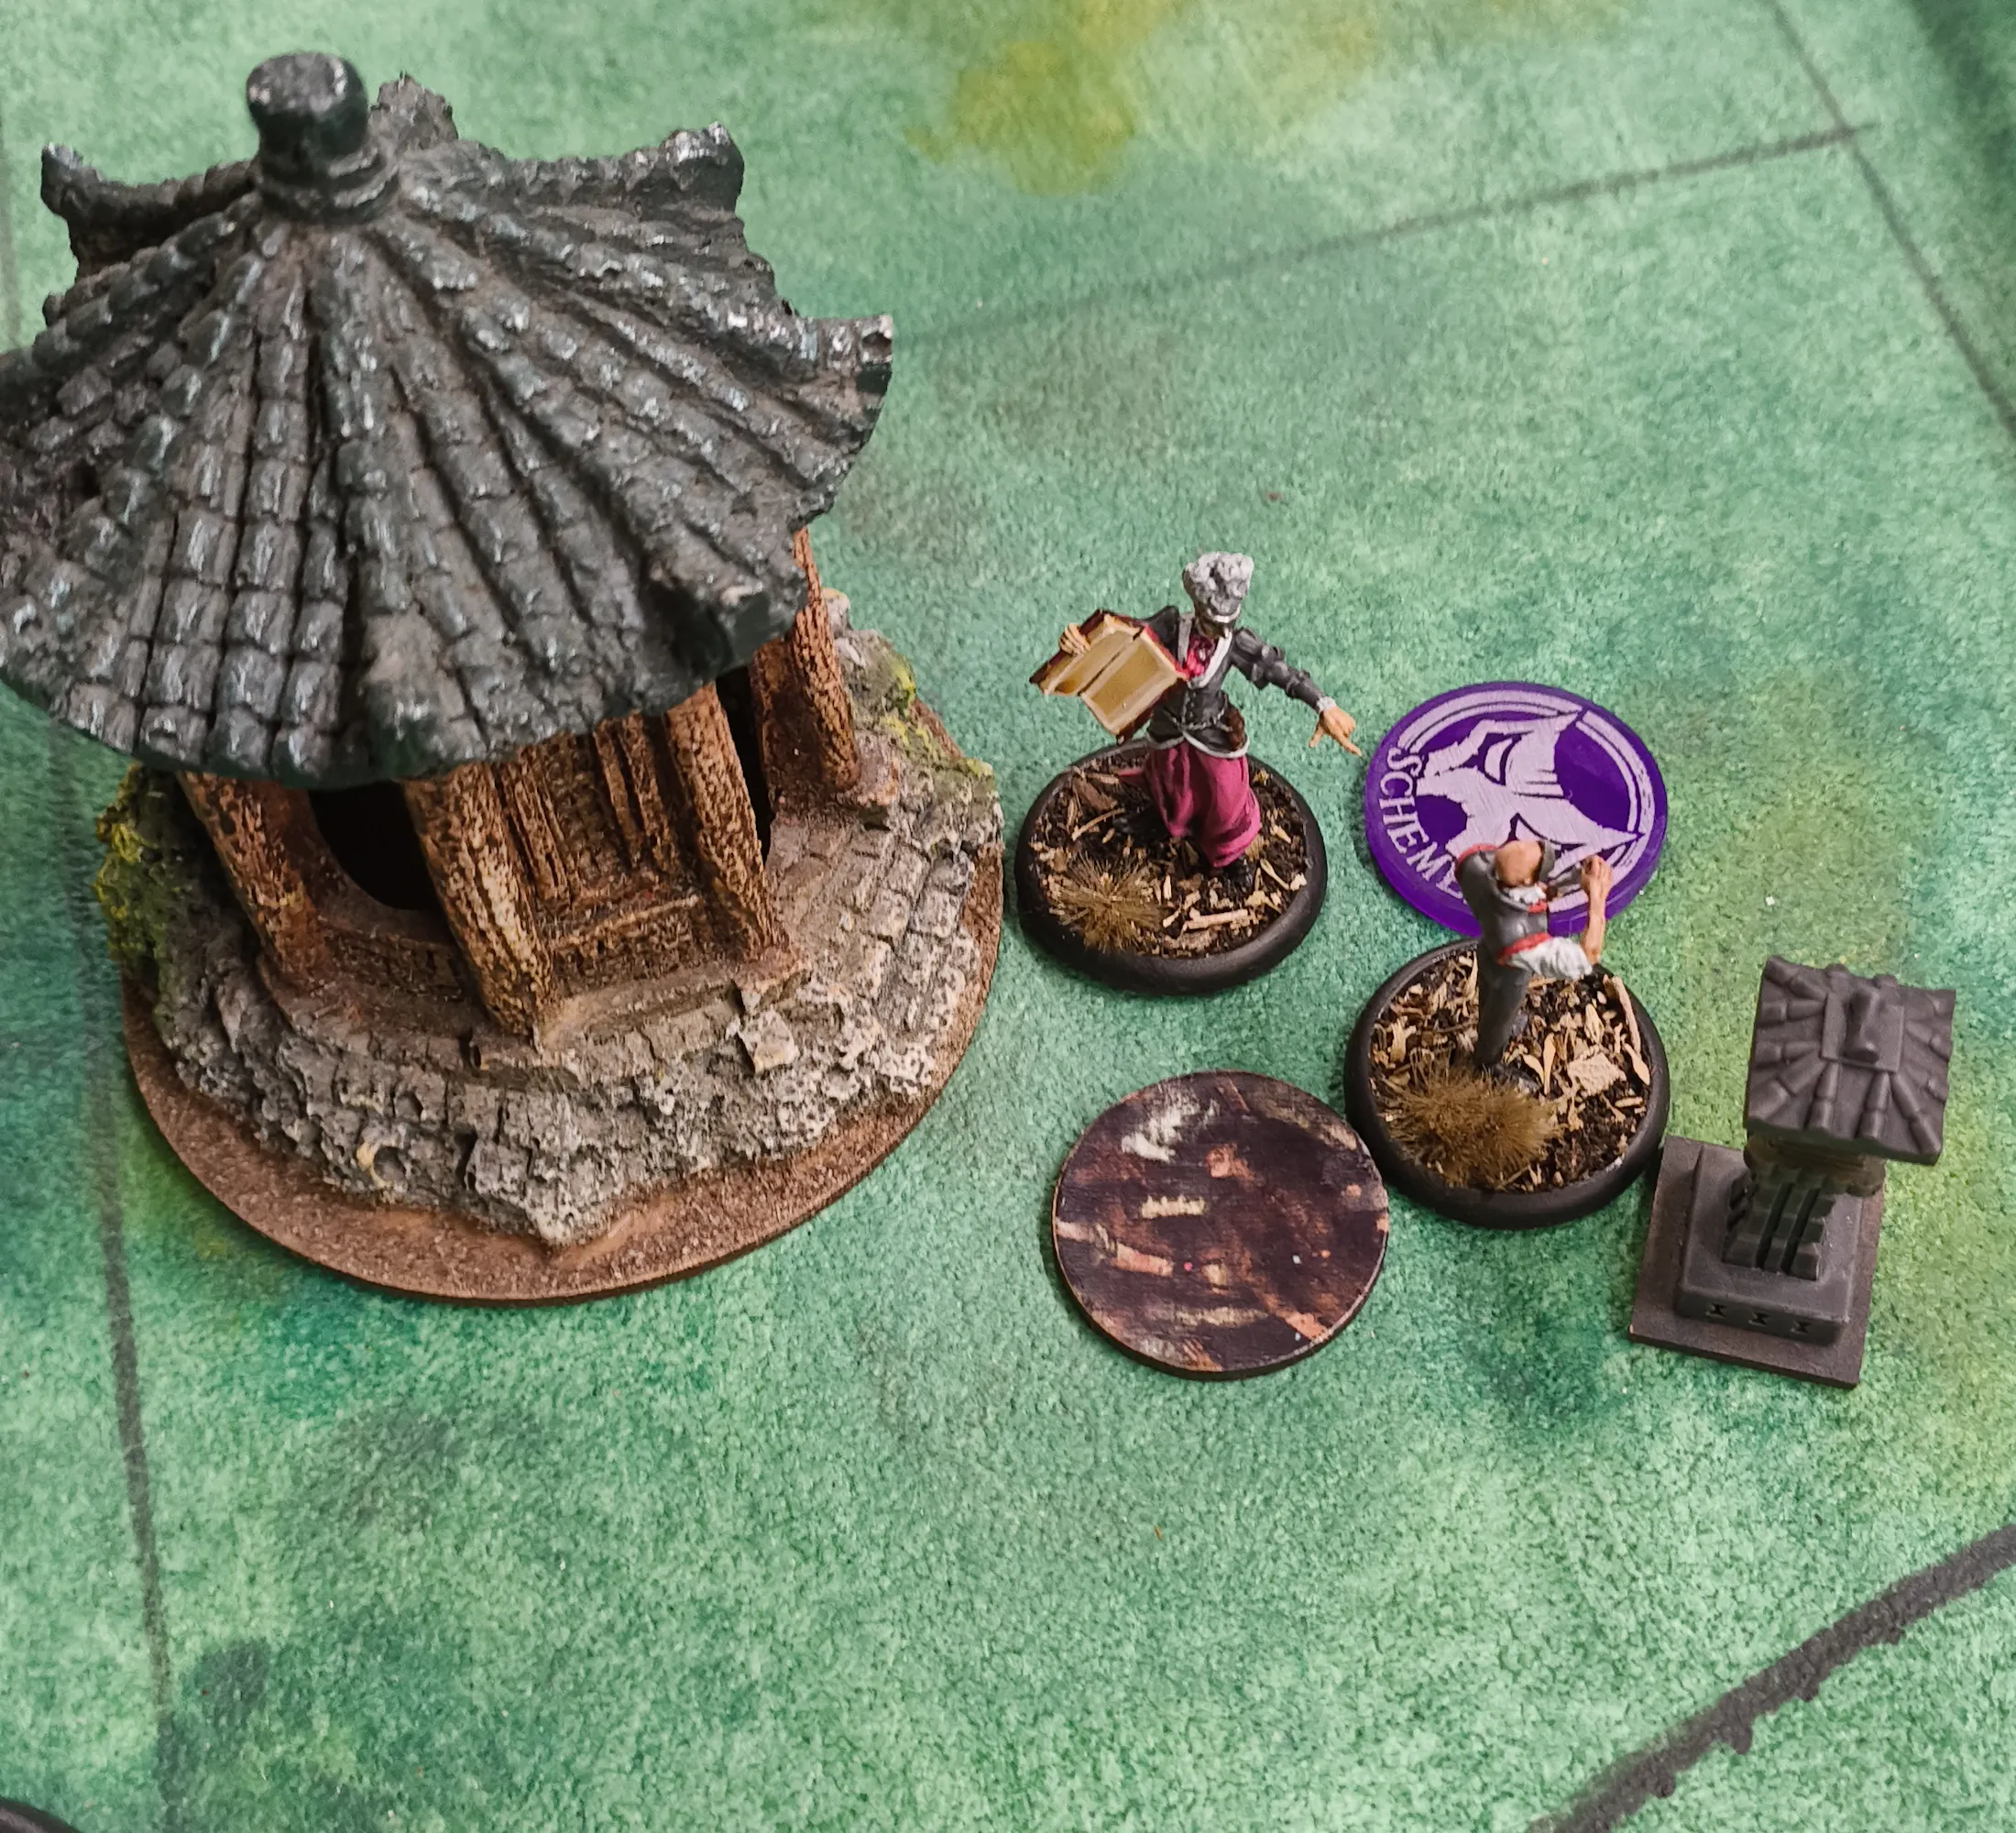
Meanwhile, there was an interesting tableaux happening in my Deployment Zone, between Agent 46 and the two Shieldbearers. Frustratingly, Shieldbearer 1 was the one I’d picked for Sweating Bullets, and because they were contesting a Strategy Marker for Raid The Vaults in my Deployment Zone, I wasn’t able to score that first point. Geraint managed to kill one of them, but from a combination of Armour, Shielded and Take The Hit, the other one survived to the end of the game.
At the end of the game, it was really a scrambling for points. I could still score the second point of Sweating Bullets but it very much depended on what Lucius did - he chose to go to a Strategy marker outside of 6 inches of the centre, so I did score that one. I’d managed to score the first point of Protected Territory, as had Geraint, but we both were unable to score the second one, because we didn’t have models near the Markers. Models were thin on the ground. There had been a lot of killing.
Geraint questioned why I left the Shieldbearer, who had run away from Agent 46 at the end of Turn 4 till last to activate. My reasoning at the time was ‘He might kill the Shieldbearer anyway, if he doesn’t, I can move in and contest the Objective.’ - I realise now I’d have been better moving up to the Objective, on the other side, where he couldn’t be charged, healing from Grave Spirit’s Touch giving me Regeneration +2 then using Plant The Shield to gain Shielded, not going into the Pyre to get another (I’d just die in the End Phase, before points were scored if he knocked me down to 1) and just trying to tank it out. Possibly hitting Agent 46 with Shield Slam, if I could guarantee the Knock Aside trigger with a big Mask, and could get far enough behind the Strategy Marker to make him use an activation getting to me. Alas, I did not do this and he killed my second Shieldbearer.
The Score
In the end it was 5-4 to my opponent, a score I’m very happy with, considering Geraint beat me by a much bigger margin in my LINK last game against him, and that Lucius is very strong in the meta right now. However, it was Geraint’s first game with him, and I’m confident he will be brutal with him (but incredibly pleasant, as he always is) when he gets more reps in.